Back to Top
- January 11, 2021
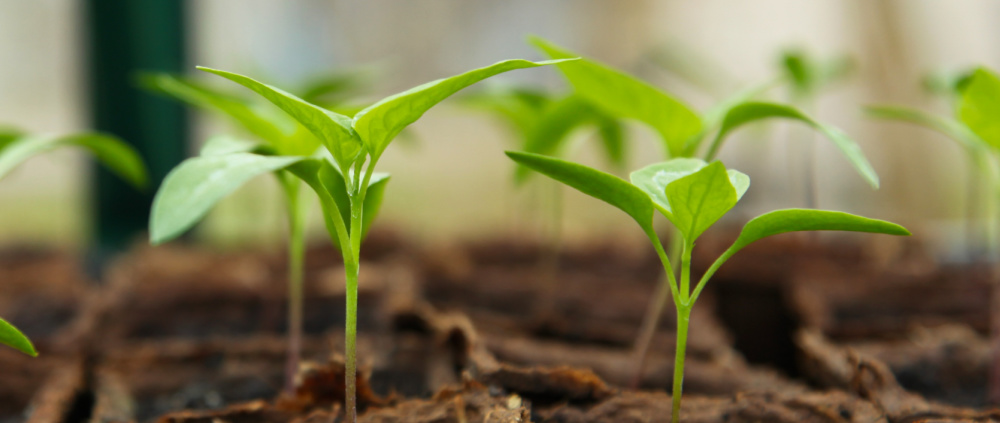
 Starting seeds indoors is fun and satisfying. It saves you money on plants and allows you to grow varieties that you just can't find locally. After months of wintry weather, starting seeds gets your hands back into the soil at long last. Just imagine Eggplants, Tomatoes and Basil, and the abundant blooms of Hollyhocks, Zinnias and Snapdragons, all started from tiny seeds by your own hands. But how and when does one get started? Here's all the information you need.
Read Seed Packets Carefully
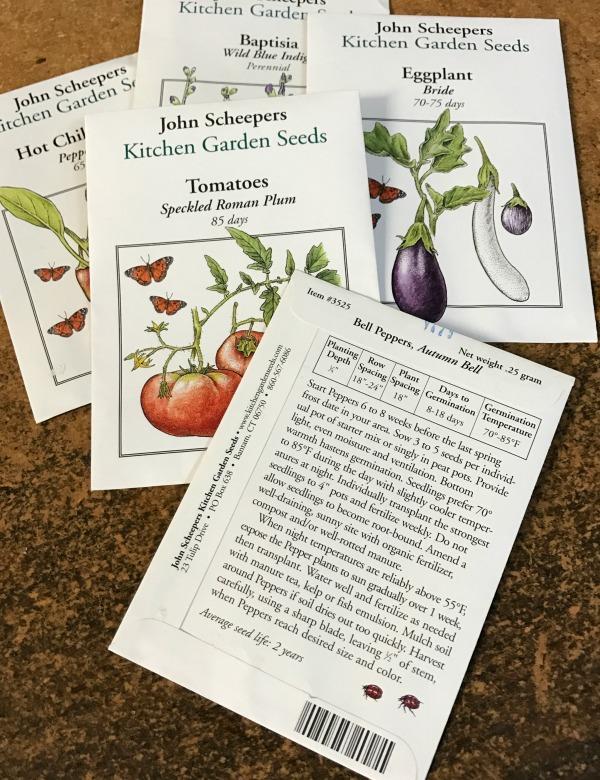
Certain varieties should be started indoors in advance because their days to mature harvest exceed the amount of time between your spring Last Frost Date and your fall First Frost Date. Just about everything you need to know is detailed on each seed packet, including when to start seed indoors, proper planting depth, spacing, days to germination, ideal germination temperature and any special needs. Some seeds need a 12-week head start indoors while others shouldn't be started until three weeks before transplant outside.
Pay attention to specific instructions about covering or not covering the seeds with soil: for the best germination, some seeds need light, while others crave darkness. Sort your start-indoor seed packets by the number of weeks they require in advance of your spring Last Frost Date. Start a seed calendar. Prior to use, store seed packets in an airtight container, in a dry spot away from sunlight at a consistent 65° to 75°F.
Find Your Spring Last Frost Date
 Your Last Frost Date is the cornerstone of your spring seed-starting endeavors. It is when you can begin transitioning the seedlings you started indoors to the outdoors, and when you can safely begin to direct-sow seeds.
Find your reliable Last Frost Date using data from the National Oceanic and Atmospheric Administration (NOAA) at the National Gardening Association's website HERE. Enter your zip code. This will generate two charts: "In the Fall" and "In the Spring". Use the 32° row in the spring chart and find the date in the 50% column. This is your all-important average Last Frost Date.
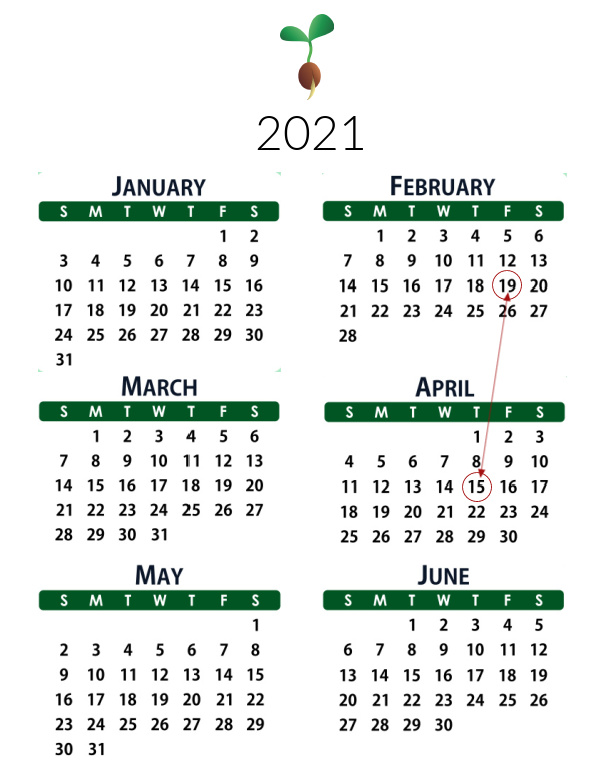
Once you mark your Last Frost Date on your calendar, you can count backwards to determine when to start your seeds. For example, if your Last Frost Date is April 15th and your Tomato seeds should be started eight weeks before being transferred outdoors, you'll sow them indoors around February 19th.
Use Good Seed Starting Mix
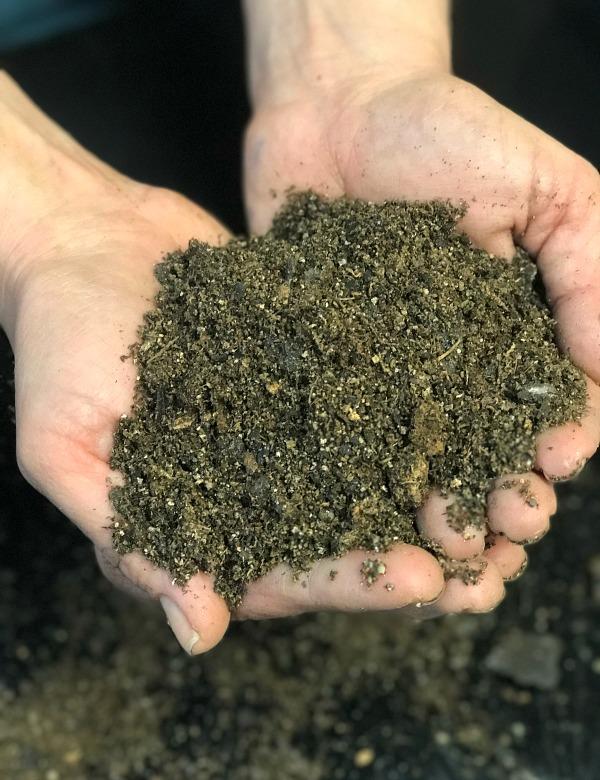
Pre-moisten the seed-starting mix with room temperature water in a clean plastic container. If you don't do this, the dry soil-less mix will run out of your planted containers and ruin the seed planting depth. Select seed-starting flats, pots or other containers that have good drainage and, if they are not new, sterilize them before use. Plastic is better than terracotta for moisture retention. After planting, water carefully and well with a hand spray bottle and lightly tamp the soil surface to make sure that the seeds are in direct contact with the soil. Label each variety to avoid any confusion later.
Start Moist, Then Taper Off
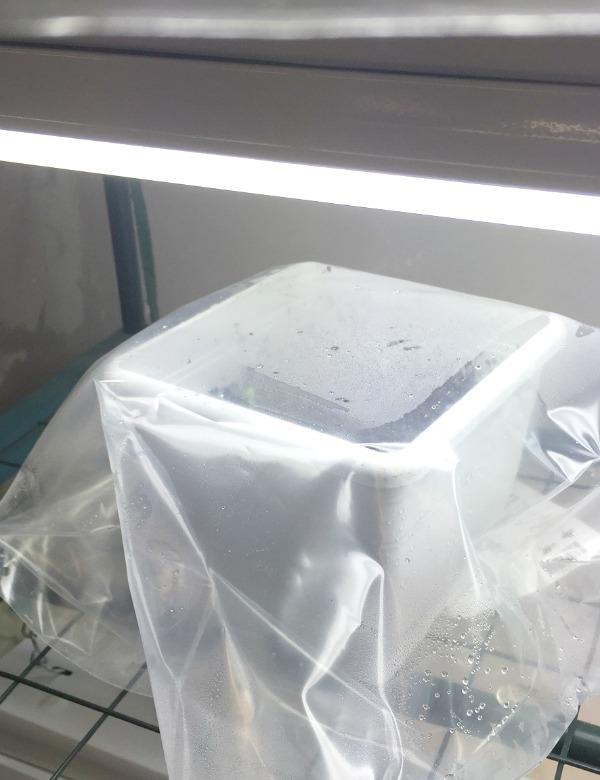
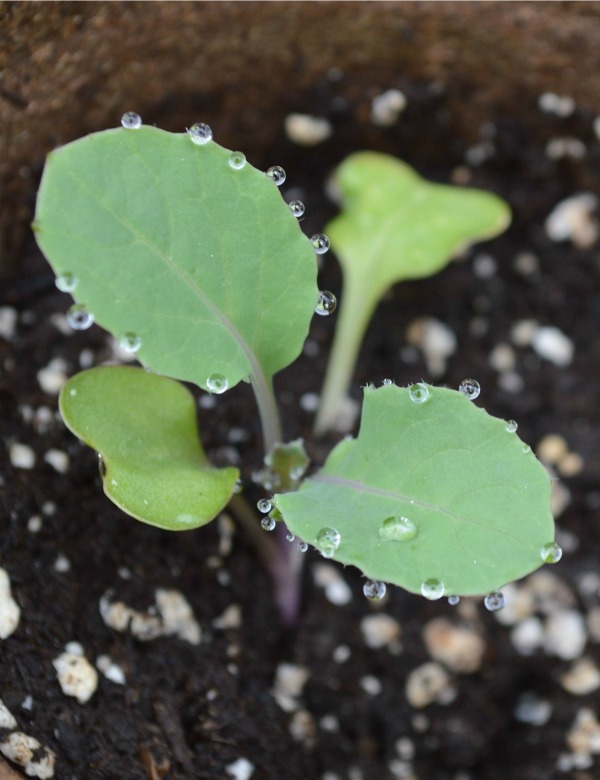
How often should you water? That depends on the type of container, the growing mix, the air temperature and the size of the plants. When you water, you may use a hand spray bottle to gently water the soil-less mix without dislodging the seeds. Make sure that all of the soil is gently moistened—not just the top layer. You can also water from the bottom up. Pour a 1/2 inch layer of water in a large tray and place your seed-starting flats or containers in the tray. The soil-less mix will wick the water up from below.
Provide Warmth & Lots of Light
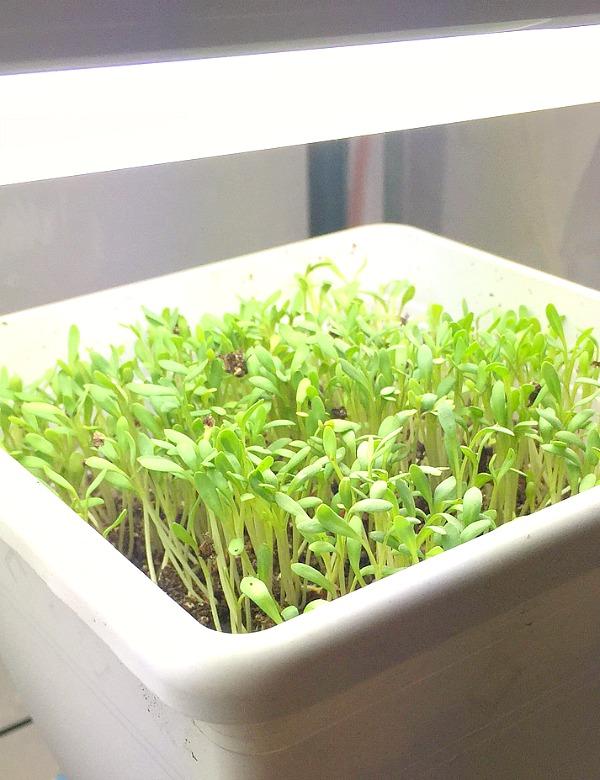
Starting seeds on a sunny windowsill just doesn't work--there is simply not enough light and seedlings will be weak, tall and spindly. You need grow lights, which you can find at your local hardware store. Hang the lights on chains so you can move them up as your seedlings grow, keeping them just an inch or two above the seedlings at all times for maximum light and warmth. Put the lights on a timer so you don't forget to turn the lights on for 16 hours and off for eight. Warmth-lovers, like Eggplants, Peppers and Tomatoes, like 24-7 light until they become 'toddlers' able to handle cooler temperatures.
Feed Seedlings & Handle With Care
Transitioning from life indoors to outdoors can be traumatic if it happens too abruptly. Seven to ten days before you plan to transplant your seedlings, start giving them daily outings so they can get used to the outdoors. Put them in a spot protected from wind and afternoon sunlight. Bring them back indoors in mid to late afternoon. As you extend their daily sojourns, they will become more acclimatized to sunlight and temperature fluctuations. Transplant the seedlings on a calm, overcast day and don't rush it. Even if it is unseasonably warm, do not transplant before your spring Last Frost Date.

Share on Facebook

Share on X

Share on Pinterest
