Back to Top
There are many commercial sprouters out there, but the old jar method works just fine. You can fit mason jars with a special screen or simply use cheese cloth stretched and held in place over the jar mouth with an elastic. Measure out the appropriate amount of seed to sprout (if you have a sprouter, follow the directions that came with it. If using the jar method, add enough seed to just cover the bottom of the jar). Clean, cull (throw out non seeds) and rinse seeds with tepid water before soaking. To soak, add tepid, non-chlorinated water, (3 parts water to 1 part seed) and let soak for the appropriate amount of time for the seed you are sprouting. Discard any non-seed material that floats up. After soaking, drain out the water: the seed should be damp but not wet. Put the jar out of direct sunlight, which could cook the seeds. Every 8 to 12 hours add enough water to cover the seeds and swish around to get all the seeds wet. Drain the water out, leaving the seeds damp but not wet. All sprouts need good air circulation, and a consistent 70°F temperature for optimum sprouting: cooler temps retard sprouting and warmer temps push too hard. Most sprouting seeds do not need light in the early sprouting stages but for the last two days before sprout use they should have some diffused light so they can green up a bit. Check each variety for the approximate days to harvest.
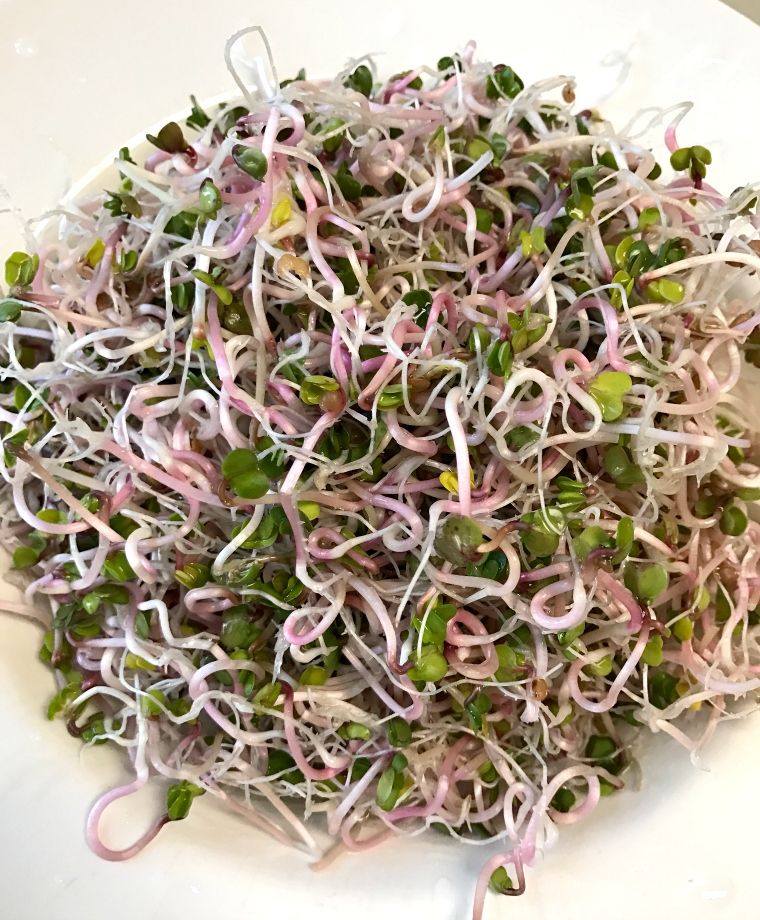
For the final rinsing, fill the entire sprouting container with water. Most of the Sprouts will shed their hulls or seed coats during this final rinsing for skimming off. Thoroughly drain the sprouts for 6 to 8 hours prior to refrigerating them. Store Sprouts dry-to-the-touch in airtight containers. Sterilize your sprouter between crops: mix a capful of bleach to a pint of water, soak for 15 to 20 minutes, scrub well and rinse thoroughly!
Countertop Sprouts Gardening
